When do you need oxygen absorbers for food storage?
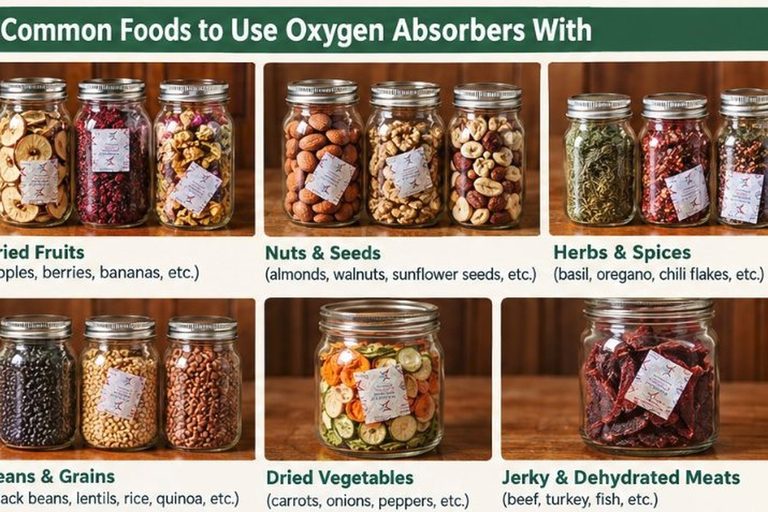
Which foods benefit from oxygen absorbers, which don't need them, and which are unsafe with them. Includes sizing and a pre-sealing checklist.
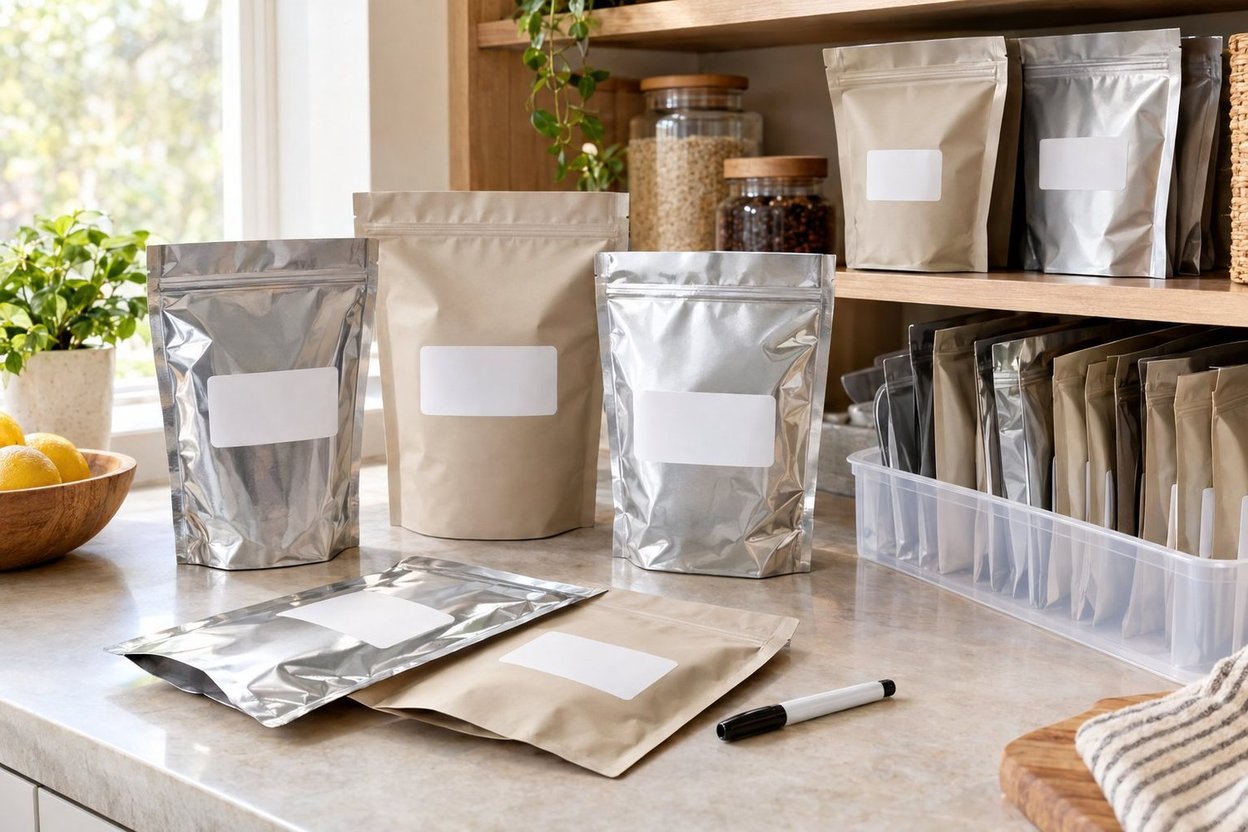
Learn what to write on Mylar food bags, which pens last, and how to store dry food with oxygen absorbers so you can rotate it safely.
Say you open a bucket in the basement while you're baking for Thanksgiving. You find three silver bags inside, and they all look the same. One says "beans" in faded marker. The others say nothing. You can't tell what's in them or how long they've been down there. The fix is simple. On every bag, write exactly what's inside, the date you packed it, and how much it holds. Put that information in the same spot every time, using a marker that won't rub off. Then add a backup label inside the bag and another on the bucket. Here's how to do each step, and how to store the bags so they're still good when you open them.
Every bag needs three things.
You can add extras if you have room:
Use the same order and the same spot on every bag, such as the upper left corner. That way you can scan a shelf or look down into a bucket and read every label at a glance.
The pen you use decides whether the label is still readable in a few years.
Bags vary, so test the marker on a corner first. Let the ink dry for 30 to 60 seconds before you stack anything on it, or it can transfer to the next bag.
Permanent marker doesn't always stay put. On some plastics it can wear off over time. Some people put a strip of clear packing tape over the writing to protect it. That isn't a tested method, but it costs almost nothing.
If you'd rather use stick-on labels, skip paper. Paper labels can peel off when they get damp, and a basement can get damp. Use waterproof vinyl or polyester labels.
Labeling is easiest before the bag is filled. A flat, empty bag gives you a smooth surface to write on, without lumps of rice or beans under the pen. Some people label after sealing instead. Either way works, as long as every bag gets labeled before it goes into storage. Doing it first just means you can't forget.
Then add a backup. Before you put food in, drop an index card inside with the same information. If the outside label wears off, the card is still there when you open the bag. Use pencil or permanent marker on the card, since it will sit in the dark for years.
Next, label the bucket, and write on the body, not just the lid. Lids get swapped. You open two buckets at once, set the lids aside, and put them back on the wrong ones. Now a lid that says "oats" sits on a bucket of wheat. Write the contents and the oldest pack date on the side of the bucket where you'll see it on the shelf. You can label the lid too if you like.
So each bag has three labels: one on the outside of the bag, one inside it, and one on the bucket. If one fades, the others still tell you what's there.
A label won't help if the food inside goes bad, so storage matters just as much.
Dry foods only. Food sealed with oxygen absorbers needs to be dry, at about 10% moisture or less. Rice, dried beans, wheat, sugar, dry milk and dried vegetables are good candidates. Utah State University Extension specifically recommends foil pouches for dried beans, dried milk and sugar. Don't seal oily foods, fresh produce or home-canned goods with oxygen absorbers.
Match the oxygen absorber to the food. According to USU Extension, oxygen absorbers are recommended for rice, dried beans, dried milk, dried vegetables and spices. Wheat doesn't need oxygen removed unless insects are present. Absorber size depends on bag size. As a rough guide from one retailer's chart, a 1-gallon bag takes about 300cc and a 5-gallon bag about 2,000cc. Write the size on the label so you'll know what to use if you reseal.
Keep it cool, dark and dry. The foil layer in Mylar greatly cuts down how much oxygen and moisture get through, but light and heat still matter. USU notes that light fades the color of beans and spoils dried milk. Sources don't agree on an exact temperature. Suggested limits range from below 85°F down to 50–70°F. The safe rule is that cooler is better. A basement corner or an interior closet usually works better than a garage or an attic that heats up in summer.
Put the bags in buckets or bins. Mylar doesn't stop mice. USU Extension notes that rodents can easily chew through foil bags despite the metal layer. Sealed bags should go inside food-grade buckets or sturdy lidded bins, which also keeps them from getting punctured on a shelf.
Vendors often say dry foods in sealed Mylar with oxygen absorbers last 25 to 30 years. Take that as a marketing claim, not a guarantee. Your actual results depend on how dry the food was and how cool you keep it.
Once the bags are labeled and stored, keeping track is easy.
Newer bags go in back. When you add a bag, put it behind the older ones. When you need one, take it from the front. This is first in, first out, and the pack date on every label makes it work.
Keep a simple log. A notebook on the shelf or a spreadsheet on the computer is plenty. For each bag, record what's in it, the pack date, the amount, and which bucket it's in. When you take a bag out, cross it off. Now and then, compare the log to the actual labels to catch mistakes. A log also lets you see your whole supply at a glance, like 30 pounds of rice and 12 pounds of pinto beans, without opening a single lid.
Check once a year. Pick a date you'll remember. Fall works well, since many families are stocking up on flour and sugar for holiday baking anyway. Rewrite any label that's starting to fade, make sure the oldest bags are at the front, and update the log.
Color-code if it helps. This is optional, but colored tape or markers by category can speed up a busy shelf. For example, use red for beans, blue for grains and green for dairy and baking.
Just keep the basics: specific contents, a dated label in the same spot, a backup inside, and a cool, dry bucket. Years from now, you'll know what's in every bag without opening it.
Which foods benefit from oxygen absorbers, which don't need them, and which are unsafe with them. Includes sizing and a pre-sealing checklist.
The 4-hour fridge rule, the 48-hour full freezer, and the 40-degree line. What to keep, what to toss, and how to make your cold food last longer in an outage.
When the stove and microwave go dark, you still have to eat. Food safety in a dead fridge and freezer, safe ways to cook, the deadly ones, and a few no-cook meals…